What is USB Debugging in Android and Why Should You Disable It?
Have you ever connected your Android phone to a computer and wondered why you cannot simply run advanced commands or make system-level changes?
Android does not allow that level of access by default. And for good reason.
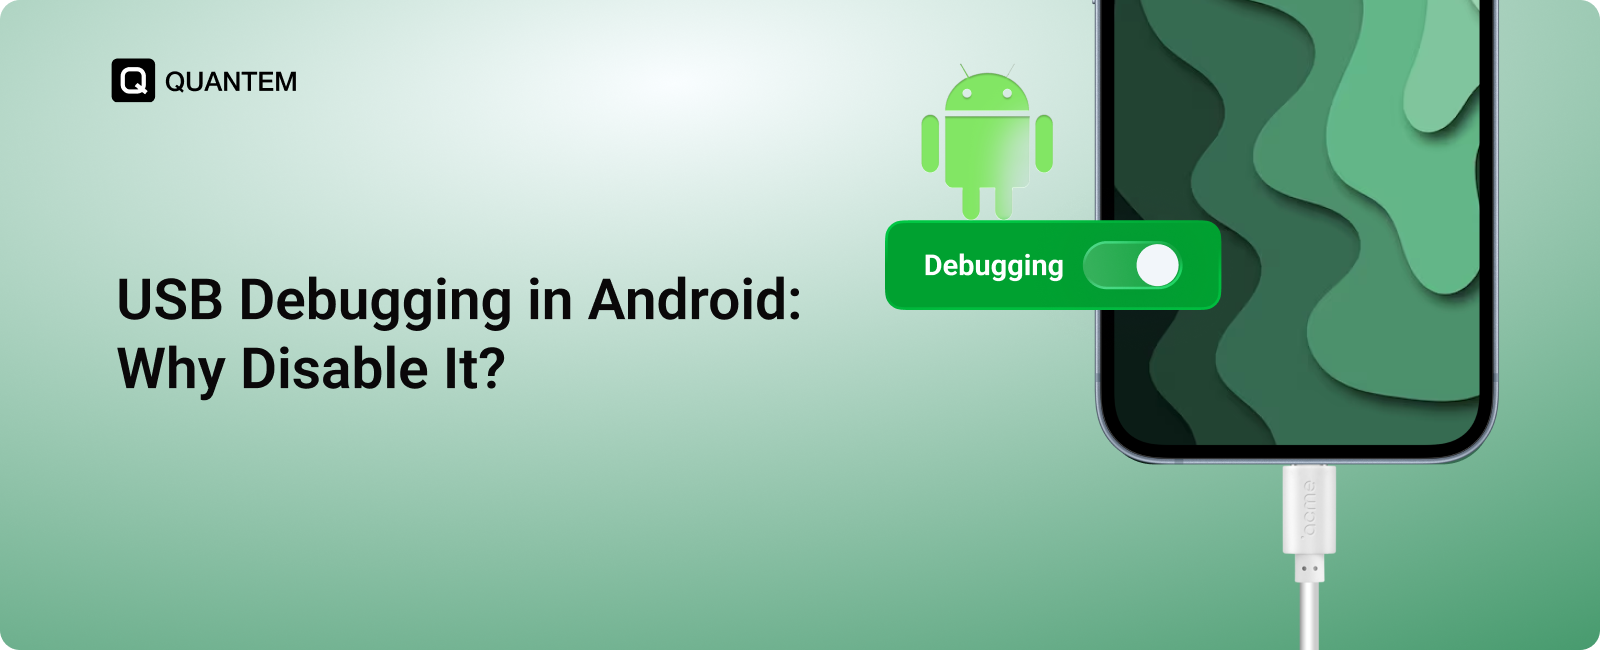
However, Android includes a hidden setting called USB debugging that allows your device to communicate with a computer at a deeper level. Developers and advanced users can use it to test applications, view system logs, run commands, troubleshoot issues, and perform other advanced tasks.
But this additional access also comes with security concerns.
When USB debugging Android is enabled, a trusted computer can communicate with the device using advanced debugging tools. While this is useful during development and troubleshooting, leaving the setting enabled unnecessarily can increase the risk of unauthorized access and unwanted system-level changes.
So, what is USB debugging on Android, what does it actually do, and why should you disable it when it is not needed?
In this blog, we will explain how USB debugging works, its uses, potential security risks, how to enable or disable it, and how organizations can manage USB debugging across enterprise Android devices.
What is USB Debugging in Android?
USB debugging is an Android Developer Options setting that allows an Android device to communicate with a PC for advanced debugging and administrative tasks.
When enabled, it allows authorized computers to interact with the device using tools such as the Android Debug Bridge (ADB). This makes it possible to perform actions that are not available through normal charging or file transfer connections.
For example, USB debugging can be used to:
- Install and test applications
- View device and application logs
- Run ADB commands
- Troubleshoot device issues
- Perform advanced diagnostics
- Access certain device functions for development and recovery
USB debugging is primarily designed for developers and advanced users. That is why Android keeps it disabled by default and hides it inside Developer Options.
For most users, there is little reason to keep USB debugging enabled all the time. Once you finish the task that requires debugging access, disabling it helps reduce unnecessary exposure to advanced device controls.
What is the Relationship Between USB Debugging and ADB?
USB debugging works closely with the Android Debug Bridge (ADB), a command-line tool that allows a computer to communicate with an Android device.
Think of USB debugging as the permission that opens the communication channel, while ADB is the tool used to send commands through that channel.
When USB debugging is enabled and a computer is authorized, ADB can be used to install apps, retrieve logs, execute commands, troubleshoot issues, and perform other advanced operations.
However, this level of access is exactly why USB debugging should only be enabled when necessary.
What Does USB Debugging Do?
By default, connecting an Android device to a computer only allows limited actions, such as charging the device or transferring files. USB debugging provides a deeper level of communication between the Android device and an authorized computer.
When used with the Android Debug Bridge (ADB), it enables developers, advanced users, and IT teams to perform tasks that are not available through the standard Android interface.
Here are some of the common USB debugging uses:
1. App Development and Testing
USB debugging allows developers to connect an Android device directly to development tools, such as the Android SDK, and test applications on real hardware.
It can be used to:
- Install and test APKs
- Monitor app performance
- View application and system logs
- Identify and troubleshoot errors
This helps developers test applications more efficiently and resolve issues during the development process.
2. Advanced System Customization
Advanced users can use USB debugging with tools such as ADB and Fastboot to perform system-level operations and customize certain aspects of their Android devices.
Depending on the device and access level, these operations may include modifying system settings, managing pre-installed applications, or making other advanced changes.
However, incorrect commands or unauthorized modifications can affect device stability, which is another reason USB debugging should be used carefully.
3. Device Diagnostics and Troubleshooting
USB debugging can help diagnose issues that may be difficult to investigate through the regular Android interface.
For example, users and technicians can collect system logs, check device behavior, run diagnostic commands, and investigate application-related problems using ADB.
This can be particularly useful when troubleshooting persistent software issues.
4. Data Backup and Recovery
In certain situations, debugging access can help retrieve device information or data through ADB, provided the required debugging permissions and computer authorization are already in place.
This can be useful when troubleshooting devices with an unresponsive interface or other software-related issues.
5. Enterprise Provisioning and Device Management
USB debugging can also support device provisioning, diagnostics, and maintenance in enterprise environments. IT teams and developers may use debugging access when configuring devices, testing settings, or collecting diagnostic information before deployment.
However, keeping USB debugging enabled across managed Android devices can create unnecessary security risks. Organizations should carefully control when debugging access is available and restrict it when it is no longer required.
For enterprise devices, this is where centralized Android device restrictions and security policies become important.
How to Enable USB Debugging in Android?
USB debugging is turned off by default and is hidden inside Developer Options. Before you can enable USB debugging, you first need to unlock the Developer Options menu.
The exact steps may vary slightly depending on your Android version or device manufacturer.
Step 1: Enable Developer Options
- Open the Settings app.
- Go to About phone.
- Find Build number.
- Tap Build number seven times.
- Enter your PIN, password, or pattern if prompted.
You should see a message confirming that Developer Options has been enabled.
On many Android devices, you can now find Developer Options under: Settings > System > Developer Options
Some manufacturers may place it in a different location.
Step 2: Turn On USB Debugging
Once Developer Options are enabled:
- Open Developer Options.
- Scroll down to the Debugging section.
- Find USB debugging.
- Turn the toggle on.
- Confirm your choice when Android displays the permission prompt.
USB debugging is now enabled on your Android device.
When you connect the device to a computer for ADB access, Android may ask you to authorize that computer using an RSA fingerprint prompt. Only authorize computers that you trust.
Once you finish using USB debugging for app development, troubleshooting, or another required task, it is a good practice to turn it off again.
Is USB Debugging Safe?
The short answer is: Yes and no.
USB debugging is safe when you know why you need it and use it only for a specific purpose. Developers, technicians, and advanced users rely on it for app testing, troubleshooting, diagnostics, and other advanced tasks.
However, leaving USB debugging enabled when it is not needed can create security risks. An authorized computer can communicate with the Android device through ADB and perform advanced operations. Connecting to an untrusted or compromised computer may expose the device and its data to unauthorized access.
So, USB debugging itself is not inherently dangerous. The risk depends on how, when, and where it is used.
For most users, the best approach is to enable USB debugging only when required, use it with trusted computers, and disable it once the task is complete.
What Are the Security Risks of Keeping USB Debugging Enabled?
USB debugging gives an authorized computer deeper access to an Android device. While this is useful for development and troubleshooting, leaving it enabled unnecessarily can increase the risk of unauthorized access and other security issues.
This is also why USB debugging is hidden inside Developer Options and turned off by default.
Here are some of the key USB debugging security risks:
1. Risks From Compromised or Untrusted Computers
When you connect an Android device to a computer with USB debugging enabled, Android requires you to authorize that computer for debugging access. Once authorized, that computer can communicate with the device through ADB. If a trusted computer is compromised or infected with malware, it could potentially create security risks for the connected Android device and its data.
2. Increased Risk of Data Exposure
Debugging access provides deeper communication between a computer and an Android device. If this access is misused, sensitive device information and business data may be exposed to unauthorized parties. This can be particularly concerning for devices that store sensitive information or provide access to corporate applications.
3. Unauthorized System-Level Changes
USB debugging allows advanced commands that are not available through normal device access. These commands can be used to modify device settings, manage applications, and perform other system-level operations. If debugging access is misused, unauthorized changes can affect device configurations and security settings.
4. Accidental Device Damage or Instability
Advanced commands can also cause problems when used incorrectly. Improper changes to device configurations or system components may cause apps to malfunction, corrupt data, or affect device stability. For users unfamiliar with ADB and advanced Android operations, troubleshooting these issues may require significant effort or even a device reset.
5. Security Risks for Lost or Unattended Devices
A lost or unattended device with USB debugging enabled can create additional security concerns, especially if it is connected to or previously authorized with a computer. The advanced access provided by debugging can increase the potential impact of unauthorized physical access. This is particularly important for business devices used outside secure office environments.
For these reasons, it is generally recommended to disable USB debugging when it is not actively required.
How to Disable USB Debugging in Android?
Once you no longer need USB debugging for app development, troubleshooting, or another advanced task, it is a good idea to turn it off. Disabling USB debugging prevents computers from using ADB to communicate with your device through debugging access.
Here's how to disable USB debugging in Android:
- Open the Settings app on your Android device.
- Go to System and select Developer Options.
- Scroll down to the Debugging section.
- Find USB debugging and turn the toggle off.
- Confirm the change if prompted.
USB debugging is now disabled, and ADB commands can no longer communicate with your device through USB debugging.
For additional security, you can also turn off Developer Options entirely if you do not need any of its advanced settings.
The exact path may vary depending on your Android version and device manufacturer, but you can usually use the Settings search bar to find Developer Options or USB debugging.
USB Debugging on Personal vs. Enterprise Android Devices
Using USB debugging on a personal Android device is very different from managing it across an organization.
An individual user can enable USB debugging when needed for development, troubleshooting, or other advanced tasks and turn it off afterward. In an enterprise environment, however, relying on every user to manage this setting correctly can create inconsistencies and security gaps.
For a single device, managing USB debugging manually is relatively simple. But when an organization manages hundreds or thousands of Android devices without a proper MDM strategy, checking Developer Options and debugging settings individually is neither practical nor scalable.
This is where a Unified Endpoint Management (UEM) solution becomes important. UEM allows IT teams to centrally manage Android device settings, enforce security policies, and apply device restrictions across the entire fleet from a single platform.
Instead of relying on individual users to configure USB debugging correctly, IT administrators can use centralized policies to maintain consistent security across managed Android devices.
Manage USB Debugging and Secure Enterprise Android Devices With Quantem UEM
Managing USB debugging manually may work for a few devices, but it quickly becomes difficult when organizations manage large Android fleets. IT teams need a centralized way to control advanced settings and ensure security policies are applied consistently across all managed devices.
Quantem UEM helps IT administrators manage and restrict Android device settings from a centralized console. This makes it easier to maintain control over USB debugging and Developer Options without relying on individual users to configure their devices correctly.
To help secure managed Android devices, Quantem UEM provides:
- Centralized Policy Enforcement: Apply consistent policies across multiple Android devices and manage security settings from a single platform.
- Granular Control: Create policies for different users, teams, or device groups based on their operational requirements.
- Developer Options Management: Control access to advanced Android settings and reduce unnecessary exposure to system-level functions.
- Android Device Restrictions: Restrict unauthorized device settings and features to maintain a secure device environment.
- Centralized Device Management: Support Android alongside Windows management and MacOS management policies and configurations without checking each device individually.
By centralizing device restrictions and policy enforcement, Quantem UEM helps IT teams reduce the risks associated with unnecessary debugging access while maintaining the flexibility required for different users and device groups.
Secure Your Android Device Fleet With Centralized Control
1. Is USB Debugging on Android the Same as Rooting?
No. USB debugging and rooting are not the same. USB debugging allows an Android device to communicate with an authorized computer using tools such as ADB. Rooting provides deeper access to the Android operating system and allows users to modify system-level files and settings.
2. Why Can't I Find USB Debugging on My Android Phone?
USB debugging is located inside Developer Options, which is hidden by default. You may need to enable Developer Options by tapping the Build number multiple times. The exact location can also vary by Android version and device manufacturer.
3. Can I Use USB Debugging to Recover My Data?
In some situations, yes. If USB debugging was already enabled and your computer was previously authorized, ADB may help access certain device information or data when the device screen is unresponsive or damaged. However, USB debugging does not guarantee data recovery and depends on the device's security settings and previous authorization.
4. Should USB Debugging Be On or Off?
For normal use, USB debugging should remain off to help protect device security and privacy. Enable it temporarily when needed for app development, ADB commands, troubleshooting, or another advanced task. Once finished, turn it off again.
5. How to Disable USB Debugging on Your Android Device?
Open Settings, go to Developer Options, find USB debugging, and turn the toggle off. The exact location may vary depending on your Android version or device manufacturer. You can also use the Settings search bar to find USB debugging more quickly.
6. Is My Device Still at Risk if I Disable USB Debugging?
Disabling USB debugging prevents ADB from communicating with your device through debugging access. However, turning it off will not automatically fix security issues or damage that may have already occurred. You should still remove unauthorized apps, review device settings, and take appropriate security measures if you believe your device has been compromised.



Get the latest blogs directly delivered to your mail fly arrow